PART V. Planchet Errors:
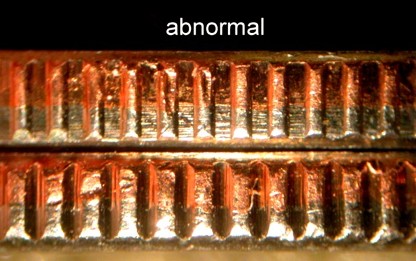
Lamination:
Lamination Fold-over Before Strike
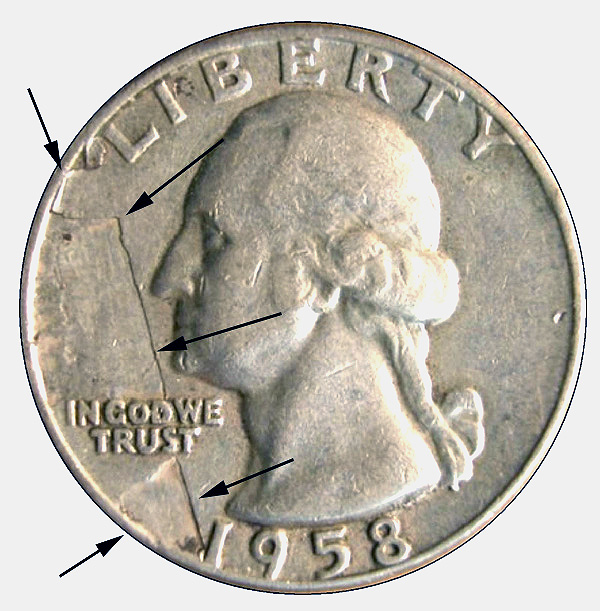
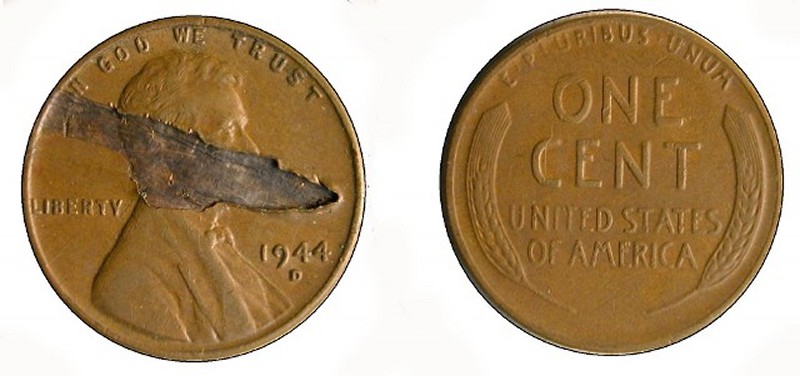
Definition: A lamination error occurs when metal flakes off the surface of a coin or planchet. It is generally believed that the flaking, peeling, and cracking is due to impurities in the alloy which causes metal to separate along horizontal planes of weakness.
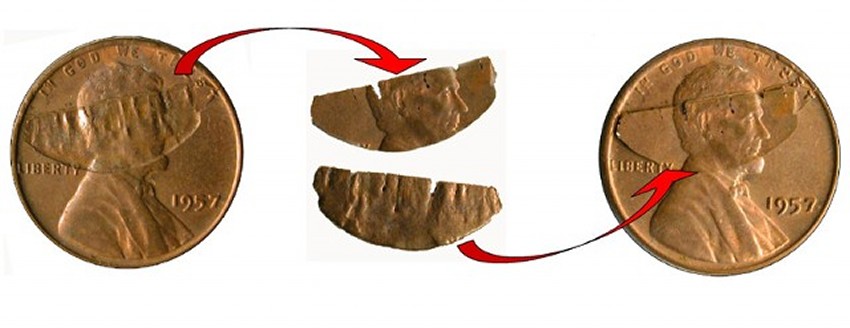
When a lamination flake fails to detach completely and instead folds over before the strike, it leaves a “struck-through” error beneath it. Lamination flakes that break off completely and that are struck into planchets different from the ones they’re derived from are responsible for a subset of those struck-through errors designated as “struck through a fragment”.
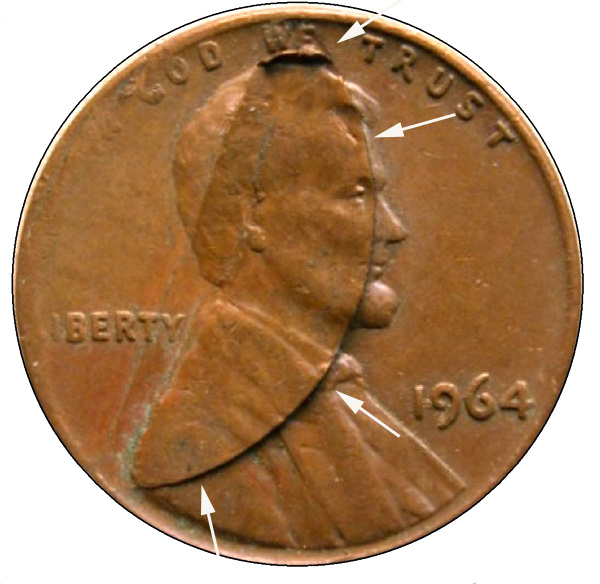
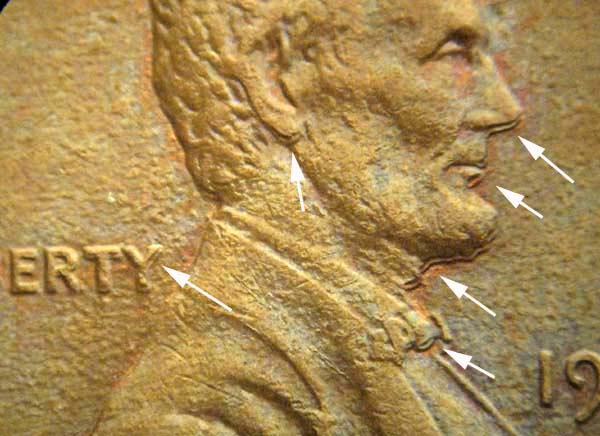
The image above shows a 1964(P) Lincoln cent with a semi-lunar (half-moon shaped) lamination flap that lifted up from the edge of the coin and folded over onto what would eventually become the obverse face of the coin.