PART I. Die Subtypes:
Mid-year Design Modifications:
1913 “Buffalo ” Nickel; Type I and Type II
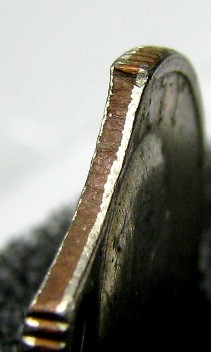
Definition: The Type I “Buffalo” nickel had the words FIVE CENTS placed on the side of the mound upon which the buffalo stands. The Type II “Buffalo” nickel had the mound partially cut away, creating an exergue for the words FIVE CENTS.

TYPE I
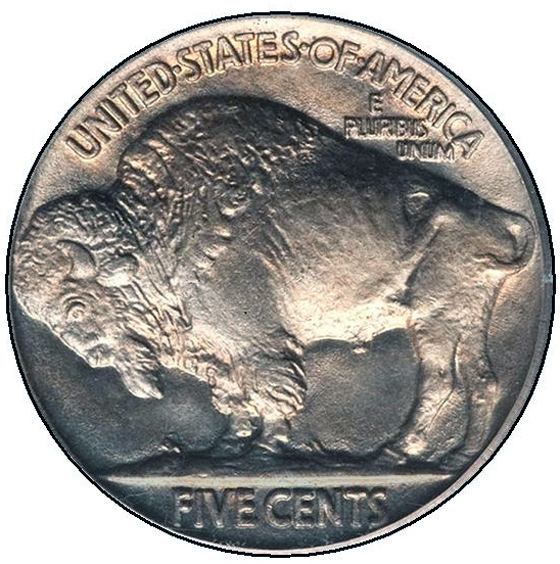
TYPE II
The original version of the Indian Head nickel was created by James Fraser and lasted only a few months into the year 1913. The design was flawed because the words FIVE CENTS wore away quickly due to their elevated placement.
Charles Barber, who was the chief engraver at the U. S. Mint, cut away the lower part of the mound and created an exergue where the words FIVE CENTS would be better protected from circulation wear. Barber also smoothed out much of the detail in the Indian’s portrait and the bison’s hide.
Almost equal numbers of the Type I and Type II nickel were struck at the Philadelphia mint. However, both the Denver and San Francisco mints struck fewer Type II than Type I nickels.
Images are courtesy of Heritage Auctions.